How to Tile a Bathroom Floor: The Complete DIY Guide to Save $500 or More
Tiling a bathroom floor is one of those home improvement projects that looks intimidating from the outside but is completely achievable for a motivated DIYer. Done right, it can transform a dated bathroom into something that looks professionally renovated — and save you $500 to $1,500 in labor costs compared to hiring a tile setter. This guide walks you through every step, from planning and prep to grouting and sealing.
Why DIY Tile Work Is Worth Learning
Tile is one of the most durable flooring materials you can install. A properly laid ceramic or porcelain floor can last 20 to 30 years with minimal maintenance. The materials themselves are relatively affordable — basic ceramic tile runs $1 to $3 per square foot, while mid-range porcelain is $3 to $7. The bulk of the cost in a professional job is labor, which is exactly where you save by doing it yourself.
Before you start, use our Unit Converter to convert your bathroom dimensions between inches, feet, and square feet — this makes calculating how much tile you need much easier and more accurate.
What You'll Need
Gather your tools and materials before you begin. Having everything on hand prevents mid-project trips to the hardware store that can derail your momentum.
Ceramic or porcelain floor tile (buy 10% more than your square footage to account for cuts and waste)
Tile adhesive (thinset mortar — use a polymer-modified version for bathroom floors)
Tile spacers (1/8" or 3/16" depending on your grout joint preference)
Grout (sanded for joints wider than 1/8", unsanded for narrower joints)
Grout sealer
Notched trowel (1/4" x 3/8" V-notch for most floor tiles)
Tile wet saw or snap cutter
Rubber mallet and level
Grout float and sponges
Chalk line and tape measure
Step 1: Prepare the Subfloor
This is the most critical step and the one most DIYers rush through. Tile is unforgiving — any flex or unevenness in the subfloor will eventually crack your grout or the tiles themselves. Your subfloor must be solid, flat, and clean.
Walk the floor and listen for squeaks. Drive screws into any squeaky spots to secure the subfloor to the joists below. Check for flatness using a long straightedge — the floor should not vary more than 3/16" over a 10-foot span. Fill low spots with floor-leveling compound and sand down high spots.
For most bathroom floors, you'll want to install a layer of cement backer board (like HardieBacker or Durock) over the subfloor before tiling. This provides a stable, moisture-resistant surface. Cut it to fit, screw it down every 6 to 8 inches, and tape the seams with fiberglass mesh tape and thinset.
Step 2: Plan Your Layout
Never start tiling from a wall — walls are rarely perfectly straight, and you'll end up with crooked rows. Instead, find the center of the room and work outward. Snap chalk lines from the midpoints of opposite walls to create a cross in the center of the room.
Do a dry layout first: place tiles along your chalk lines without adhesive to see how the pattern works out. Adjust the starting point so you don't end up with tiny slivers of tile at the edges — aim for cut tiles that are at least half a tile wide on each side. This planning step takes 20 minutes but saves hours of frustration later.
Use our Percentage Calculator to quickly figure out how much of your tile budget goes toward materials versus tools — helpful when you're deciding whether to rent a wet saw or buy one outright.
Step 3: Mix and Apply Thinset
Mix your thinset mortar to a peanut butter consistency — it should hold a ridge when you drag the notched trowel through it. Work in small sections (about 3 square feet at a time) so the thinset doesn't skin over before you set the tile.
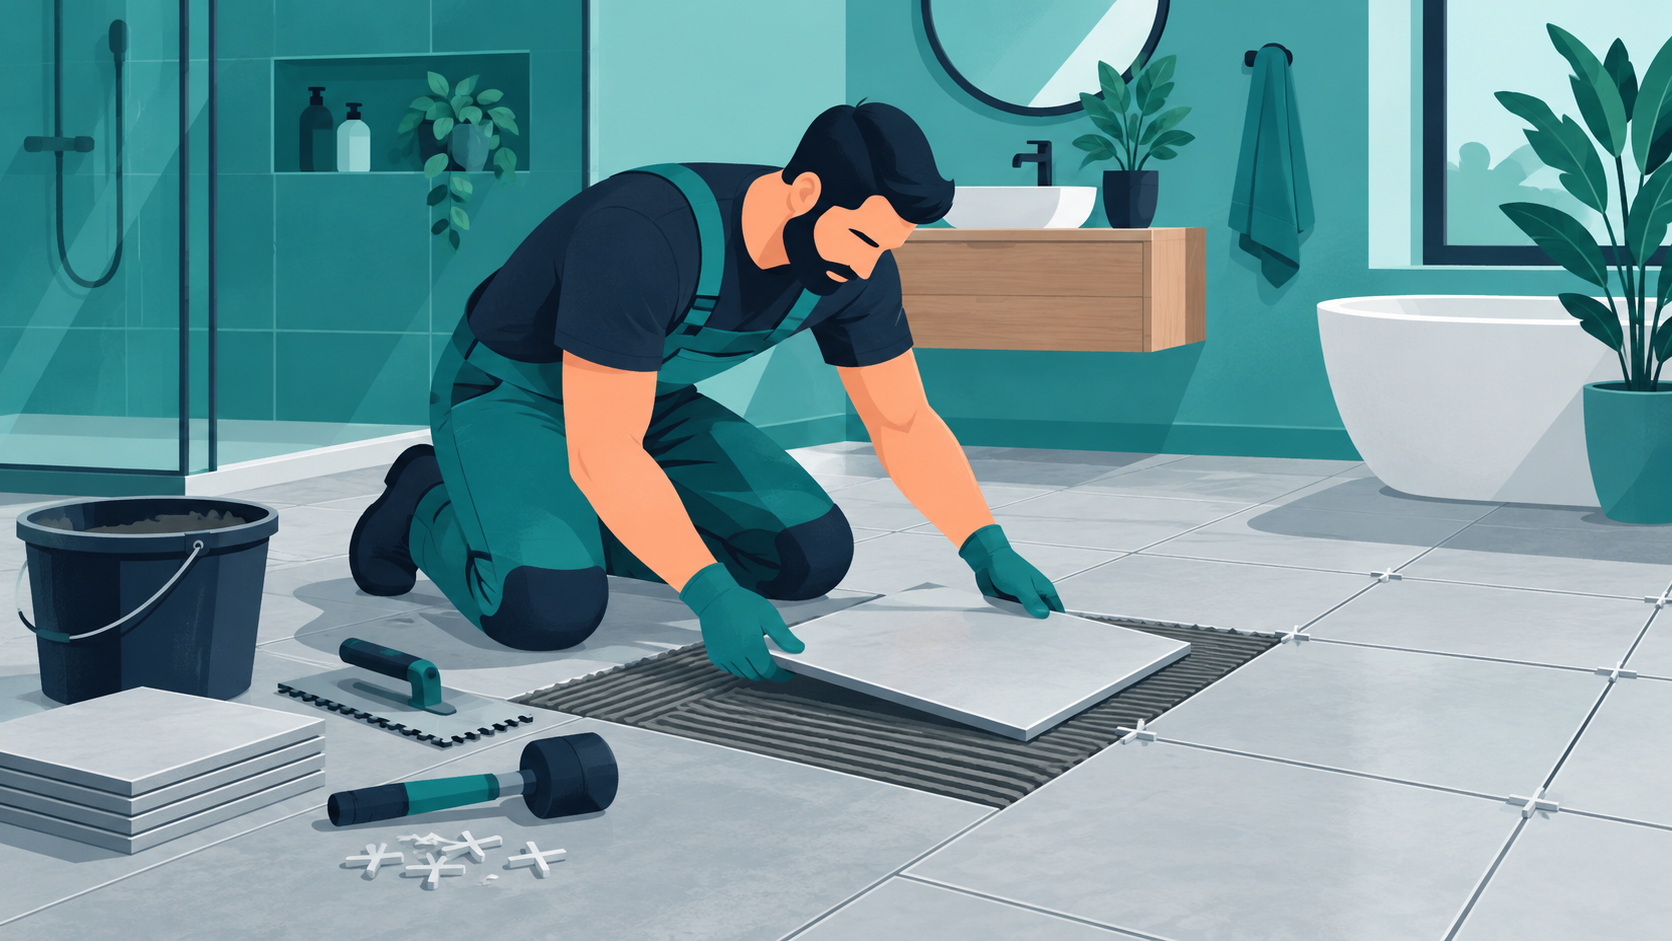
Spread the thinset with the flat side of the trowel first, then comb through it with the notched side at a 45-degree angle. This creates ridges that will compress evenly when you press the tile down. Press each tile firmly into place with a slight twisting motion, then check it with a level. Use your rubber mallet to tap down any high spots.
Place tile spacers at each corner as you go. Check your work frequently with a level — catching a slightly high tile early is easy; catching it after the thinset has set is a headache.
Step 4: Cut Tiles for the Edges
Once the field tiles are set, measure and cut the border tiles. A wet saw gives the cleanest cuts and is worth renting for a full bathroom floor — expect to pay $40 to $60 for a day rental. For straight cuts, a snap cutter works fine and is cheaper, but it can't handle curves or notches around toilet flanges.
Measure each cut tile individually rather than assuming they're all the same — walls are rarely perfectly parallel. Mark your cut line with a pencil, make the cut, and dry-fit before applying thinset.
Step 5: Grout the Joints
Wait at least 24 hours after setting the last tile before grouting — the thinset needs to cure fully. Remove all tile spacers, then mix your grout to a thick, smooth consistency.
Apply grout with a rubber float, pressing it diagonally across the joints to pack them fully. Work in 10-square-foot sections. After about 15 to 20 minutes (when the grout starts to haze), wipe the surface with a damp sponge in a circular motion. Rinse the sponge frequently and wring it out well — too much water weakens the grout. You'll likely need two or three passes to get the tiles clean.
Let the grout cure for 48 to 72 hours before walking on the floor or getting it wet.
Step 6: Seal the Grout
Grout is porous and will absorb moisture and stains if left unsealed — especially in a bathroom. Apply a penetrating grout sealer with a small brush or applicator bottle, working it into the joints. Wipe off any excess from the tile surface before it dries. Most sealers need to be reapplied every one to two years in high-moisture areas.
How Much Will You Save?
For a typical 50-square-foot bathroom floor, professional installation runs $600 to $1,200 in labor alone. DIY materials — tile, thinset, grout, backer board, and sealer — typically run $150 to $350 depending on tile selection. That's a savings of $450 to $850 on a single weekend project. Use our Discount Calculator to compare tile prices across stores and find the best deal on materials before you buy.
Common Mistakes to Avoid
Skipping backer board: Tiling directly over drywall in a bathroom is a recipe for moisture damage and tile failure within a few years.
Not back-buttering large tiles: Tiles larger than 12x12 inches should have thinset applied to the back of the tile as well as the floor to ensure full coverage.
Grouting too soon: Patience pays off — let the thinset cure fully before grouting or you risk disturbing the tile positions.
Using too much water when cleaning grout: Excess water dilutes the grout and weakens it. Wring your sponge thoroughly every time.
Forgetting to seal: Unsealed grout in a bathroom will discolor and grow mildew within months.
You've Got This
Tiling a bathroom floor is a weekend project that pays dividends for decades. The skills you build — subfloor prep, layout planning, working with thinset and grout — transfer directly to backsplashes, shower surrounds, and other tile projects around the house. Take your time on the prep work, keep your layout square, and don't rush the curing steps. The result will be a floor you're genuinely proud of every time you walk into that bathroom.
Before you act on this
This article is for general educational purposes only. Everyone’s situation is different, so before making any decisions please refer to a licensed contractor and check your local building codes and permit requirements who can advise you based on your specific circumstances.