How to Build a Raised Garden Bed: The Complete Weekend DIY Guide
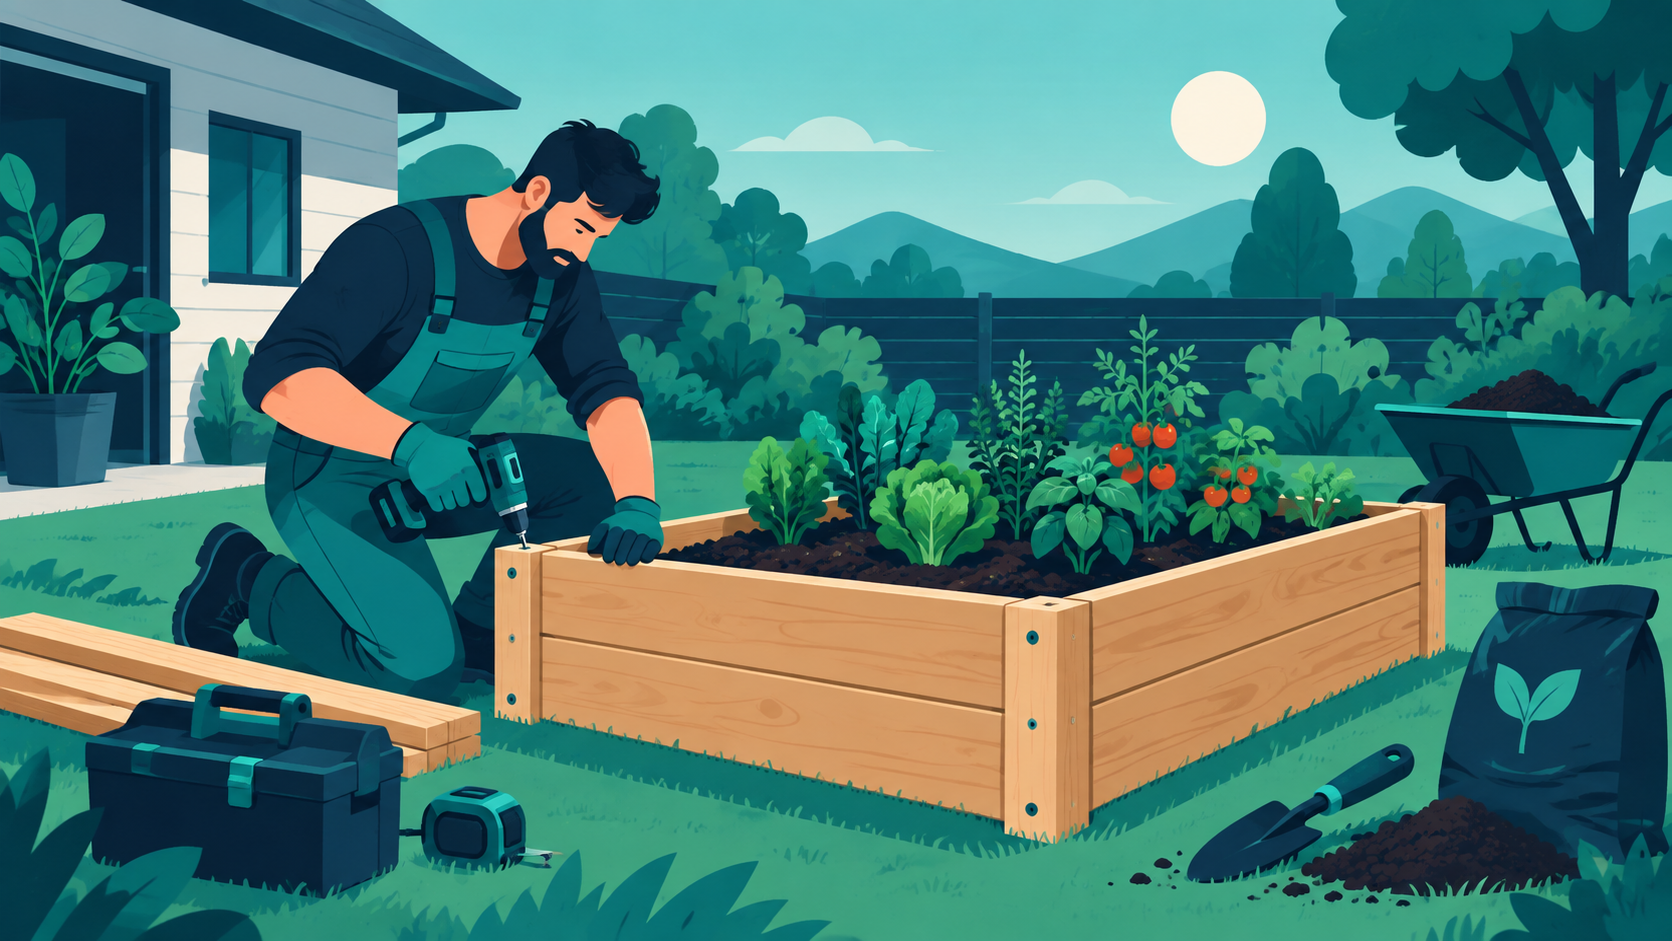
Building a raised garden bed is one of the most satisfying weekend projects you can tackle — and one of the most practical. Whether you're working with rocky soil, poor drainage, or just want a cleaner, more organized growing space, a raised bed solves all of it. The best part? You don't need to be a carpenter. With a few basic tools, some lumber, and a free afternoon, you can have a beautiful, productive garden bed ready to plant.
Why Raised Beds Beat In-Ground Gardening
Before you grab your drill, it helps to understand why raised beds are worth the effort. In-ground gardening works fine in ideal conditions — but most of us don't have ideal conditions. Raised beds give you complete control over your soil quality, which is the single biggest factor in how well your plants grow.
They also warm up faster in spring, drain better after heavy rain, and keep weeds from creeping in as easily. Because you're not walking on the soil, it stays loose and aerated — roots can spread freely without fighting compaction. And from a purely practical standpoint, raised beds are easier on your back. Bending over a 12-inch-high bed beats kneeling in the dirt every time.
Choosing the Right Size and Location
The most common raised bed dimensions are 4 feet wide by 8 feet long, and for good reason: you can reach the center from either side without stepping in. Keep width at 4 feet maximum — anything wider and you'll be stretching awkwardly to tend plants in the middle. Length is flexible; 8 feet is a great starting point, but 4×4 beds work well for smaller yards or balconies.
For depth, aim for at least 10–12 inches. Most vegetables need 6–8 inches of root space, and the extra depth gives you room for good soil mix without hitting whatever's underneath. If you're placing the bed over concrete or compacted hardscape, go 18 inches deep so roots have plenty of room.
When choosing a spot, prioritize sunlight above everything else. Most vegetables need 6–8 hours of direct sun per day. Use a Unit Converter to translate your measurements between feet and meters if you're working from a plan that uses metric dimensions — it saves a lot of head-scratching when you're at the lumber yard.
What Lumber to Use (And What to Avoid)
Not all wood is created equal when it comes to raised beds. You want something rot-resistant that won't leach chemicals into your soil. Here are your best options:
Cedar: The gold standard. Naturally rot-resistant, lightweight, and it smells great. Expect 10–20 years of life without any treatment. It costs more upfront but lasts far longer than cheaper alternatives.
Redwood: Similar to cedar in durability and rot resistance. Harder to find in some regions but excellent if available.
Douglas Fir: More affordable and widely available. Not as rot-resistant as cedar, but treated with a food-safe sealant it can last 5–8 years. A solid budget option.
Avoid pressure-treated lumber with CCA (chromated copper arsenate): Older pressure-treated wood used arsenic compounds that can leach into soil. Modern ACQ-treated lumber is safer, but many gardeners still prefer to avoid it for edible gardens. When in doubt, stick with cedar.
For a standard 4×8 bed at 12 inches tall, you'll need two 2×12×8 boards and two 2×12×4 boards (or cut an 8-footer in half). Add four 4×4 corner posts cut to 12 inches for structural support. Use a Percentage Calculator to figure out how much extra material to buy — a 10–15% overage is standard practice for any lumber project to account for cuts and mistakes.
Step-by-Step Build Instructions
Once you have your materials, the actual build goes quickly. Here's the process from start to finish:
Step 1 — Cut your corner posts: If you're using 4×4 posts, cut four pieces to match your board height (12 inches). These go inside each corner and give you something solid to screw into.
Step 2 — Pre-drill your holes: Drill pilot holes through the side boards before driving screws. This prevents the wood from splitting, especially near the ends. Use 3-inch exterior screws (galvanized or stainless steel — never regular drywall screws, which will rust and fail).
Step 3 — Assemble the frame: Attach the long side boards to the corner posts first, then add the short end boards. Check for square by measuring diagonally corner to corner — both measurements should match. If they don't, nudge the frame until they do before driving the final screws.
Step 4 — Level the bed: Set the frame in your chosen location and use a level to check all four sides. Shim with gravel or soil as needed. A level bed means water distributes evenly and your plants grow straight.
Step 5 — Line the bottom (optional): Lay cardboard or landscape fabric on the ground inside the frame before adding soil. Cardboard smothers existing grass and weeds and breaks down naturally over time. Skip plastic — it blocks drainage.
Filling Your Bed: The Right Soil Mix
This is where most beginners go wrong. Don't fill your raised bed with straight topsoil from a bag — it compacts too easily and drains poorly. The classic raised bed mix is often called "Mel's Mix" after gardening author Mel Bartholomew, and it's hard to beat:
1/3 compost — the nutrient engine of your bed. Use a blend of different compost types if possible (mushroom compost, worm castings, aged manure).
1/3 peat moss or coconut coir — holds moisture without compacting. Coconut coir is the more sustainable choice.
1/3 coarse vermiculite or perlite — keeps the mix light and airy so roots can penetrate easily.
For a 4×8×1 foot bed, you need roughly 32 cubic feet of mix — that's about 1.2 cubic yards. Most garden centers sell bulk soil by the cubic yard, which is far cheaper than buying bags. To calculate exactly how much you need, multiply length × width × depth (all in feet) to get cubic feet, then divide by 27 to convert to cubic yards. The Unit Converter can help you switch between cubic feet and cubic yards if you're comparing prices from different suppliers.
What to Plant First
Once your bed is filled and settled, you're ready to plant. For beginners, start with forgiving, high-yield crops that reward effort quickly:
Lettuce and salad greens: Fast-growing, can be harvested in as little as 30 days, and thrive in the cool shoulder seasons of spring and fall.
Tomatoes: The classic raised bed crop. They love the warm, well-drained soil and produce abundantly through summer.
Herbs: Basil, parsley, chives, and cilantro are easy to grow and expensive to buy at the grocery store — a raised bed herb garden pays for itself quickly.
Zucchini and cucumbers: Prolific producers that do well in raised beds. Give them a trellis and they'll climb vertically, saving space.
Estimating Your Total Cost
A basic 4×8 cedar raised bed typically costs $80–$150 in materials, depending on lumber prices in your area. Soil is often the bigger expense — budget $50–$100 for a quality mix. Total project cost usually lands between $130–$250, which sounds like a lot until you realize a single season of tomatoes, herbs, and greens can easily produce $300–$500 worth of food at grocery store prices.
If you're comparing lumber prices at different stores or trying to figure out whether a sale is actually a good deal, the Discount Calculator makes it easy to see exactly how much you're saving — and whether it's worth driving to a different supplier.
The raised bed will last 10–15 years with cedar, meaning your per-year cost is remarkably low. And every year you garden in it, your soil gets richer as you add compost and organic matter — the bed literally improves with age.
One Weekend, Years of Reward
Building a raised garden bed is the kind of project that pays dividends long after the weekend is over. You'll spend a few hours cutting, drilling, and filling — and then spend years harvesting food, enjoying the process, and wondering why you didn't do it sooner. Start with one bed, get comfortable with it, and expand from there. Most gardeners who build one raised bed end up building three or four within a couple of seasons. It's that satisfying.
Before you act on this
This article is for general educational purposes only. Everyone’s situation is different, so before making any decisions please refer to a licensed contractor and check your local building codes and permit requirements who can advise you based on your specific circumstances.